IT Services at the Boston Office
General Information, login, and password
All services use unified login credentials. The Boston IT services uses a different credentilas to the Prague IT login names and passwords.
Your general account and login credentials are managed by the storage server Synology. The only thing you will probably ever need to do with the account setup is to change the password.
To change the password, point your browser to https://synology01.iocbboston.org and log in. Once authenticated, click the user silhouette icon, select Personal and click the Change Password button.
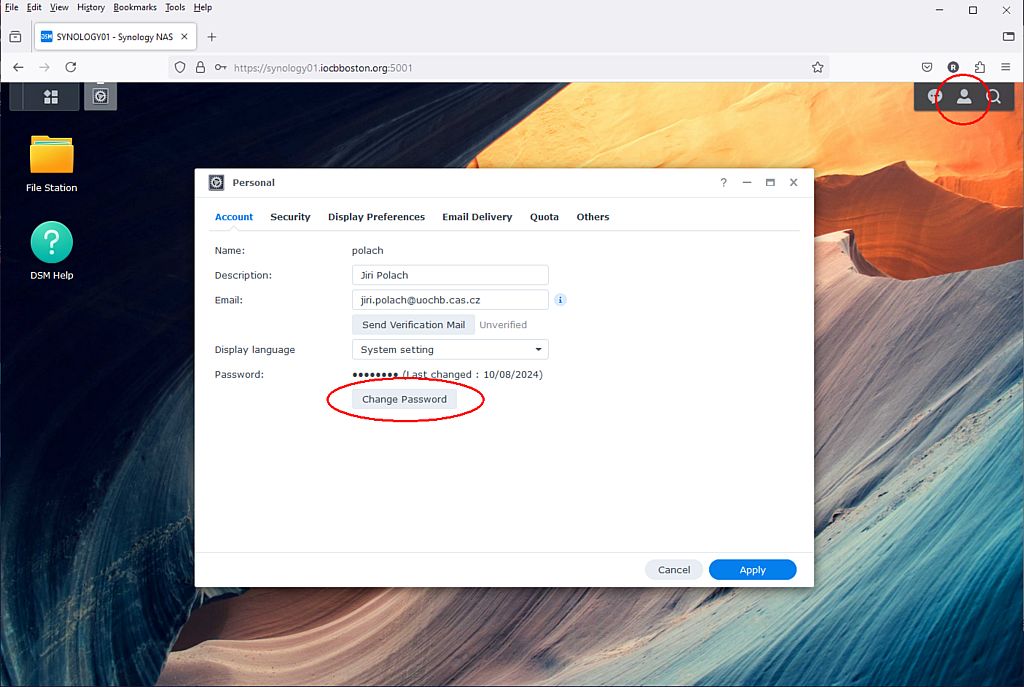
Remember that this password is also used to authenticate you to wifi network so if changed, you will need to enter the new password next time you try to connect to Wi-Fi.
Please note that you can only reach Synology server when connected to local network or connected via VPN (see below).
Connecting to Wi-Fi
To connect to the local wifi network, please select IOCB_BOSTON as SSID and enter your username and password. Confirm the location question if asked to. On Android, select Don't Validate in the CA Certificate section.
The network called IOCB_BOSTON_GUEST uses the shared password. To get the password, see leaflets displayed elsewhere in the lab. For security reasons, devices connected to this Wi-Fi will not have access to the internal network and services, they are just allowed to access internet. Use this network to allow your guests to have general internet access, do not use it for yourself.
Storage
If you have connected to SYNOLOGY server to change the password, you may have noticed the folder icon named File Station on the left side.
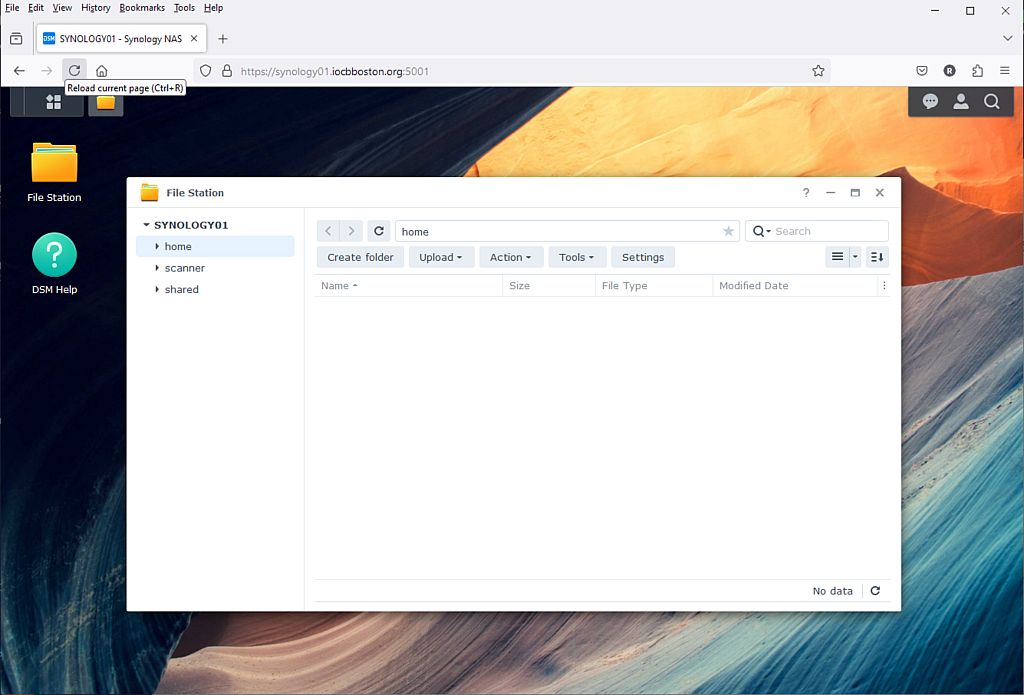
When opening this folder you see three subfolders - home, scanner, and shared.
- home is a storage for your personal data - this folder is not shared to anyone, quota is set to 600GB per user (can be increased later),
- scanner is a subfoder where the office multi-function printer/scanner stores scanned documents - everyone can list, open, copy and delete files there, but only the scanner can create new files,
- shared is a folder shared to everyone to allow quick ad-hoc file sharing among your team; every user can create, open, modify, and delete any file or folder there regardless of who is the file owner.
You can access these folders via the web browser on the earlier mentioned address https://synology01.iocbboston.org/, but the more convenient way is to mount these folders on your laptops / PCs and use them the same way as the local drivers.
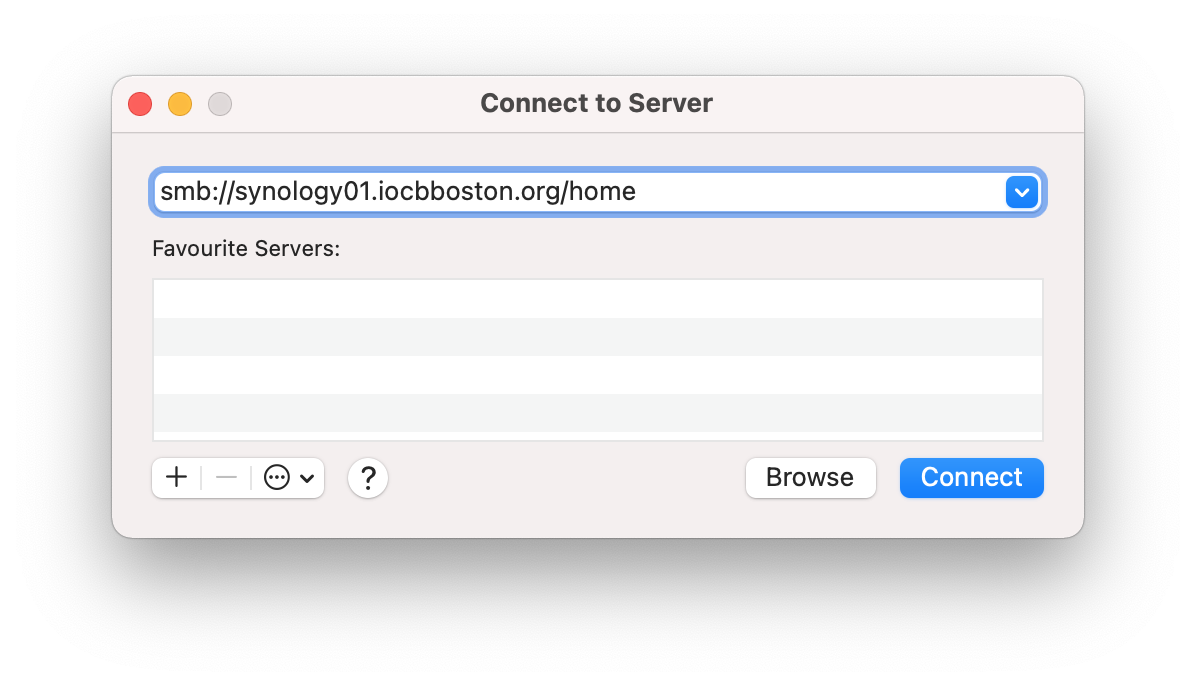
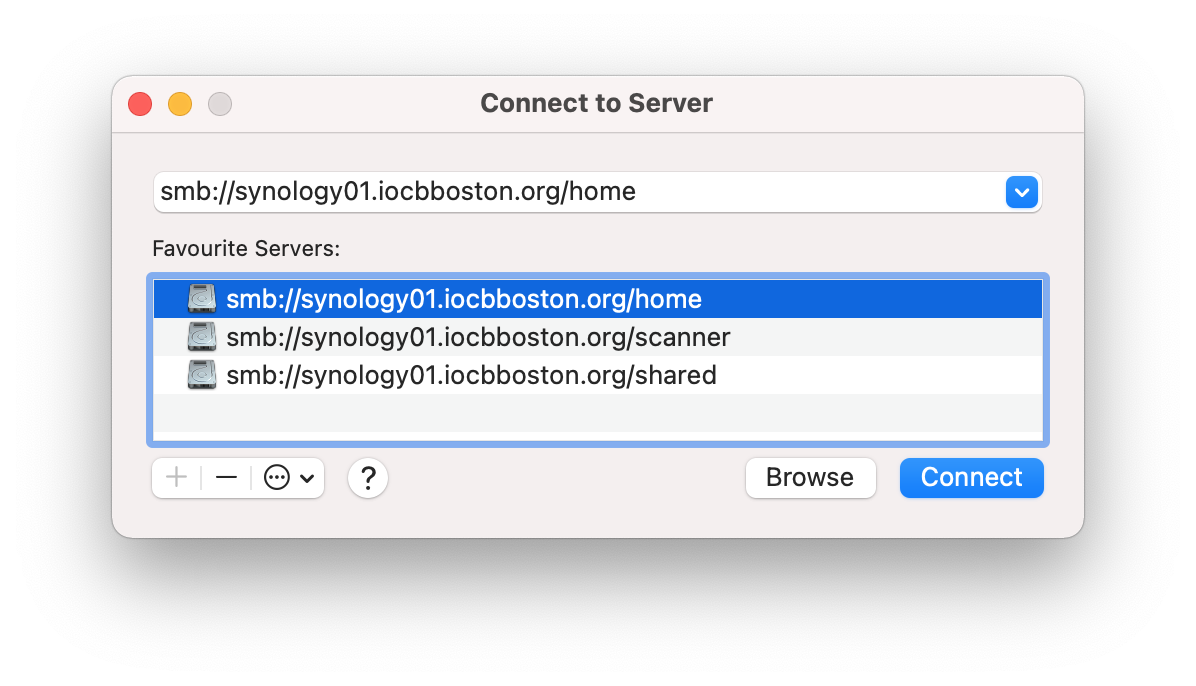
To mount the home folder on an Apple laptop, please open the Finder and either select Go / Connect to server from menu or press Cmd+K. Copy/paste the path smb://synology01.iocbboston.org/home (or smb://synology01.iocbboston.org/shared, or smb://synology01.iocbboston.org/scanner) to the dialog window. Press "+" to add the network drive to Favorite Servers list.
 |
 |
 |
 |
To mount all folders on a Windows PC, download and run the script storage.bat.
Alternatively, you can map the drives one-by-one manually: Right-click on This PC and select Map Network Drive. Select the network drive (e.g. N:) and enter
\\synology01.iocbboston.org\home
as Folder. Select Connect using different credentials and click Finish. Alternatively, open a command prompt window (click on Start, type cmd, and press Enter) and enter the following command (replace LOGIN with your login name)
net use n: /user:LOGIN \\synology01.iocbboston.org\home /persistent:yes.Please note that the drives are only accessible in the Boston office/lab network or when connected to VPN.
Printing and Scanning
To print on the printer by the conference room door, please let you operating system find the printer on the network. If it is not found automatically, use mfpm680.iocbboston.org as the printer address and let the system do the rest. You may need to restart your computer after the installation to be able to print.
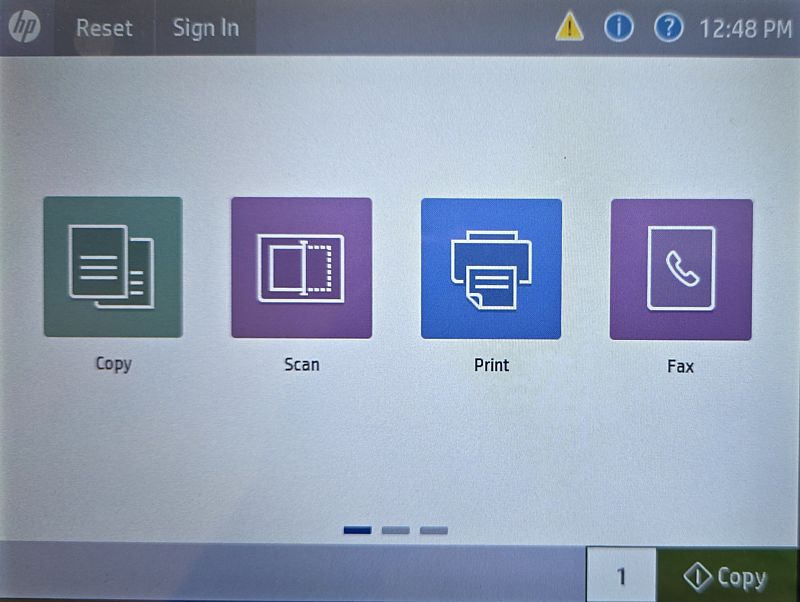
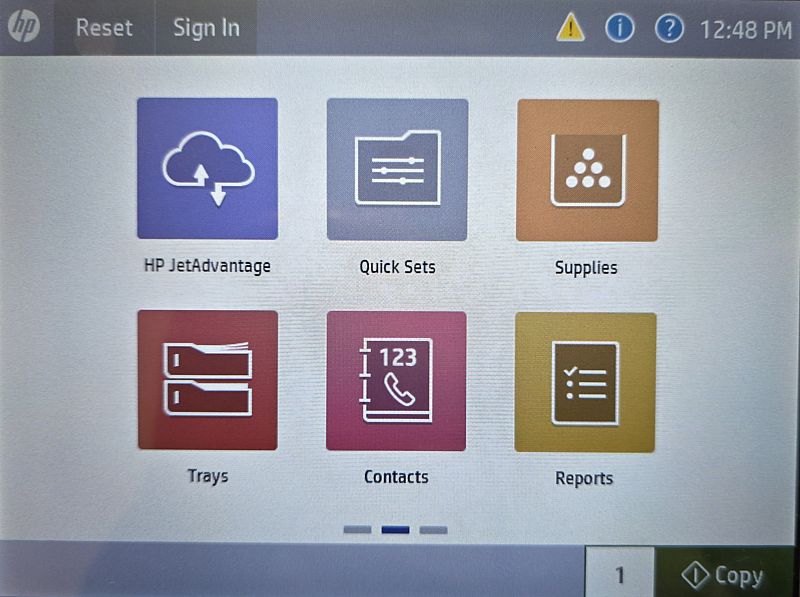
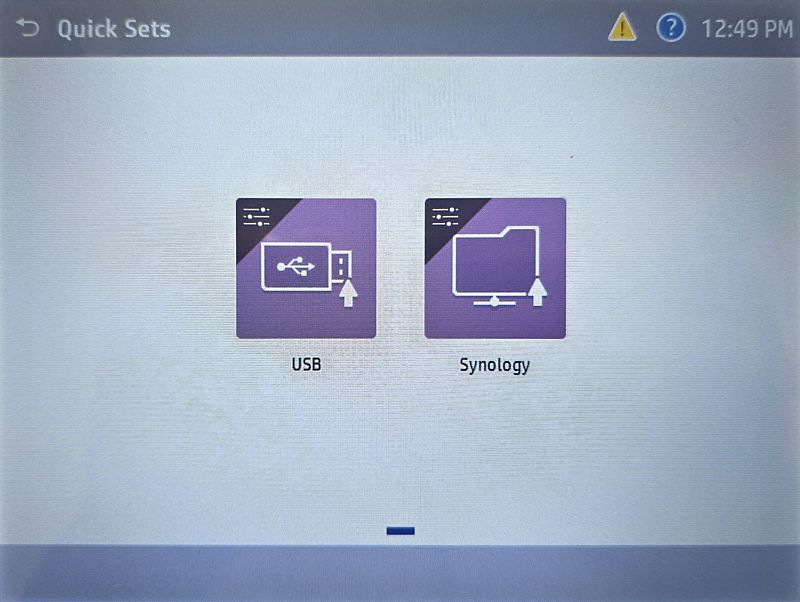
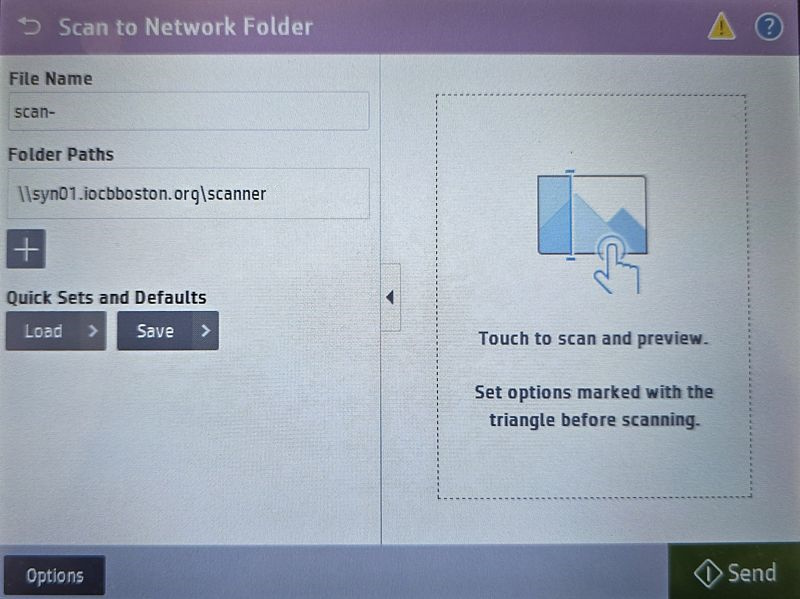
To scan a document, place it on the glass or insert it to the automatic feeder. On the printer control panel, scroll right (swipe left) to the second page, tap on Quick Sets and tap on Synology. Use Options to modify the scanning parameters (if needed) and tap Send.
The scanned file will be stored in the scanner folder on the file server Synology where you can pick it up. Please note that everyone has access to files in this folder so do not send anything confidential there and delete the scanned file after you have copied it to your private storage or if you do not need it any more.
 |
 |
 |
 |
Connecting to the network from outside (VPN)
Use VPN to get access to the Boston office IT services from outside.
To download and start using the VPN connection, point your browser to https://vpn.iocbboston.org/, authenticate using your corporate credentials and accept the automatic install of preconfigured secure client package. Wait for install to finish. Secure client will automatically try to connect VPN server when installed. Authenticate again with credentials if needed.
For the following connections just start the client and enter your password. Please note that VPN connection cannot be established from the internal network.
To connect to the VPN from a mobile device, download and install AnyConnect app manually.